How to Decorate Your Walls With Pictures
If you’re looking to update your decor, then hanging pictures is a fantastic choice. Not only is it an easy way to make any house feel like home but it also allows you to showcase your personality without breaking the bank. It’s even said to make you happier in general.
Whatever your style, budget or picture hanging expertise, there are plenty of ways you can really refresh your room and decorate your walls. Find out how you can use pictures and artwork to bring new life to any space.
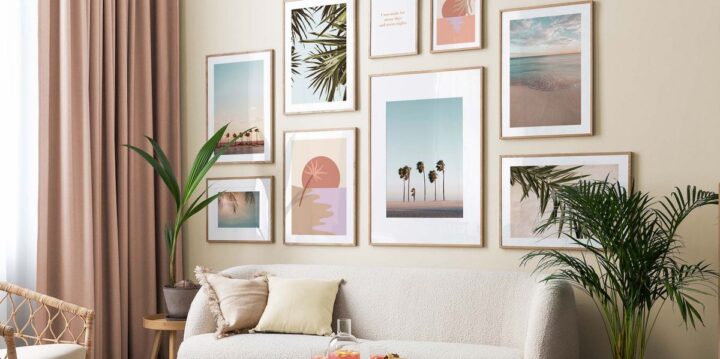
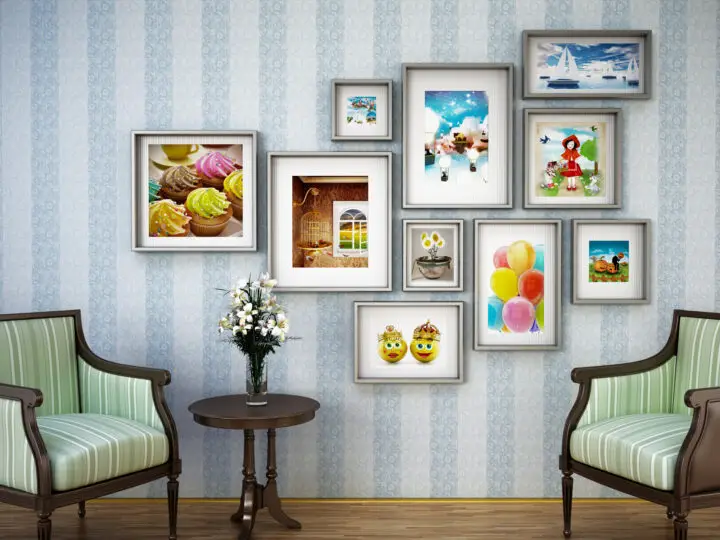
1. Create a gallery wall
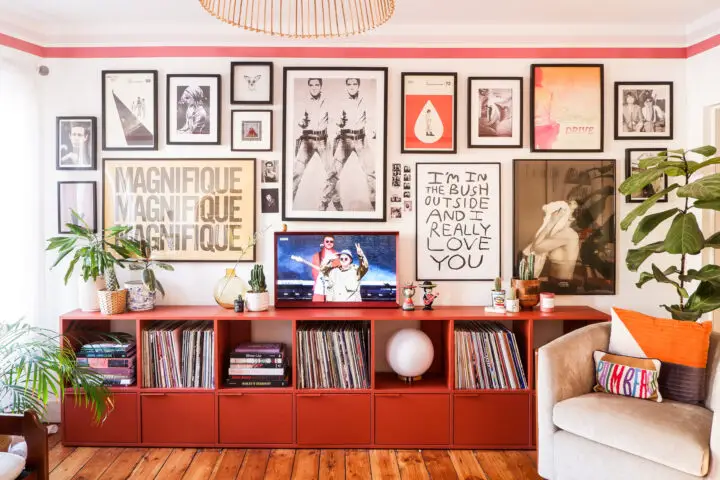
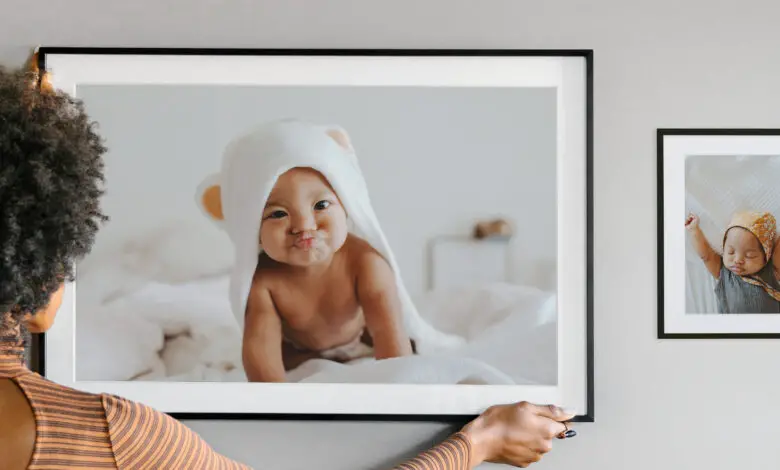
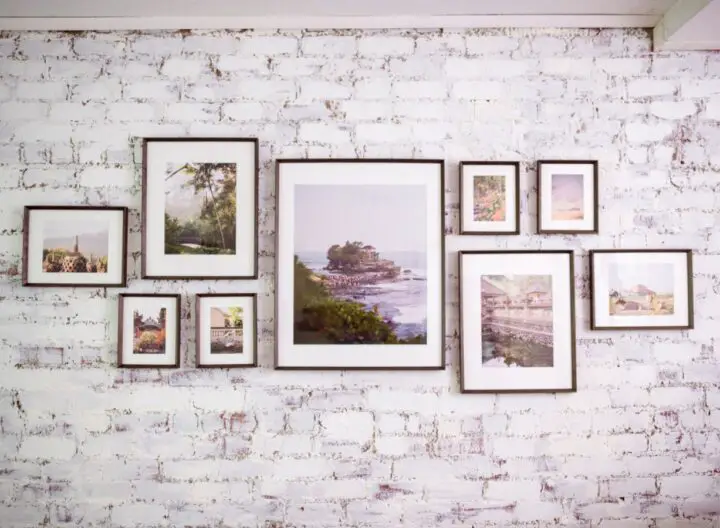
Struggling to decide on one picture to place on your wall? With a gallery wall, you don’t need to choose. Show off an entire collection of photos or art, as well as wall hangings and use a combination of frame sizes, styles, and colours for the real wow factor. Mix up the spacing between each of the frames and extend the gallery wall to the roof of your room to create the illusion of a bigger space. This range of picture hanging hardware from www.PictureHangingSystems.com is sure to make the job even easier.
2. Use a memo board
Hanging up pictures or art doesn’t mean you have to make a series of holes in your wall. Instead, you can use a memo board. Not only is it functional but it will allow you to add a personal touch to an office or kitchen. There are also plenty of options available – from metal and magnetic to cork or wood – which means you’re sure to find something to suit your decor.
3. Light up your photos

Draped over your bed, hung above your desk, tied around the stairs – fairy lights are ideal for creating a cosy haven and can also be used to display pictures. Simply invest in some wooden clips and position your photos exactly how you want them by hanging them on the lights and, when you’re ready, switch the lights on.
4. Get creative with tape
Coloured and patterned tape is a great way to add a bit of personality to your room. Go rustic by ripping a small square of tape off and sticking up your picture or create a neat border around each of your images for a modern and minimalist finish. Plus, by leaving a small gap between your pictures, you can create an alternative gallery wall.
5. Create a grid
If you’ve got a lot of prints and pictures to showcase, knowing what to do with them can be a minefield. A grid effect is not only an efficient use of space, it also looks brings out your creative spark. ProfessionalPictureHanging says you should consult a professional when hanging pictures like this but if you do attempt it yourself use a ruler and a level to space out your pictures, secure with tape and, if you’re feeling bold, mix up angles and spacing for something really different.
6. Install a photo ledge
Shelves and ledges are a simple way to hang up your pictures and often provide an interesting feature to your room. Leaning framed or unframed photos on a delicate ledge is a great way to draw the eye upwards, especially if you have high ceilings. Nowadays, you can also find ledges and shelves in a variety of different materials, colours, and widths to suit any space.
7. Do more with less
Another way to show off multiple pictures is to place all your photos into one frame. To do this, your pictures really need to be the same size. Once this is done, arrange them in a grid format and hang the finished piece in your hallway or above the mantelpiece. This is also great when you come to move house and means you won’t need to worry about removing and re-hanging your favourite pictures.
8. Bring the outdoors in
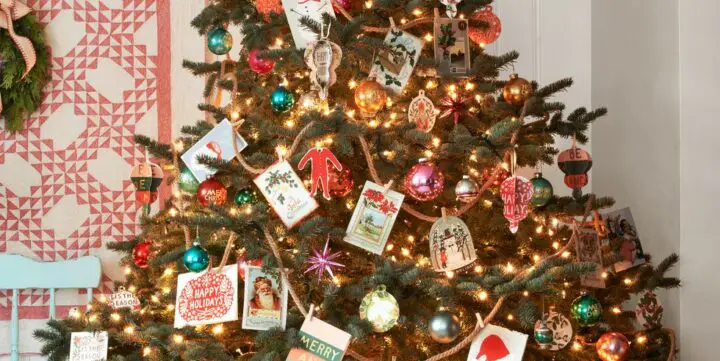
We all know that spending time outside adds to our sense of wellbeing, so why not bring natural elements into your living space? Simply secure a branch or large twig to your wall and then hang pictures of its arms. At Christmas, you can even accessorize the branch with baubles, lights, and tinsel for a truly festive look.
9. Opt for clipboards
For something really rustic looking, attach your favourite pictures to a clipboard and then secure this to the wall. This looks great in an office or playroom and means you can easily change the photos that you have on show.
Top tips for hanging pictures up
Like what you see above? We’ve rounded up our best advice to ensure that both your walls and pictures are kept intact.
- Make sure you know what wall surface you’re working with. Drywalls are the easiest to work with and can practically take any technique. Older plastered walls can sometimes crumble, and brick requires a special piece of kit for your drill.
- Choose the right hanging tool. Consider how big the item you want to hang is and find an appropriate nail or D-ring. It may require a few spaced out to ensure a secure fit.
- Have the right tools on hand. Whether you need tape, a drill, a spirit level, or a hammer, it’s important that you have all your required tools before starting the job. That way you can ensure you do it right the first time.
- Measure, and measure again. Hold up your picture exactly where you want it, make a marking on the wall, and use a spirit level to ensure it is straight. Then stand back and check that it’s in the right position before making any holes. With your photo in place, use a spirit level again to check that it’s straight.
- Of course, if you’re currently renting your property, you may need to ask your landlord’s permission before making any changes to the walls.
img source: cf.ltkcdn.net
Showing off your personality with pictures is a fun way to get creative, whether you’re decorating a brand new space or jazzing up an old one. There are frames, hangings, and fixings to suit any surface, so you never have to be stuck with a plain white wall. Whatever pictures you decide to put on your wall, remember that nothing is stopping you from changing them as often as you like, meaning you can keep your room fresh and exciting all year round.