What is an 80% Lower and why would I want One?
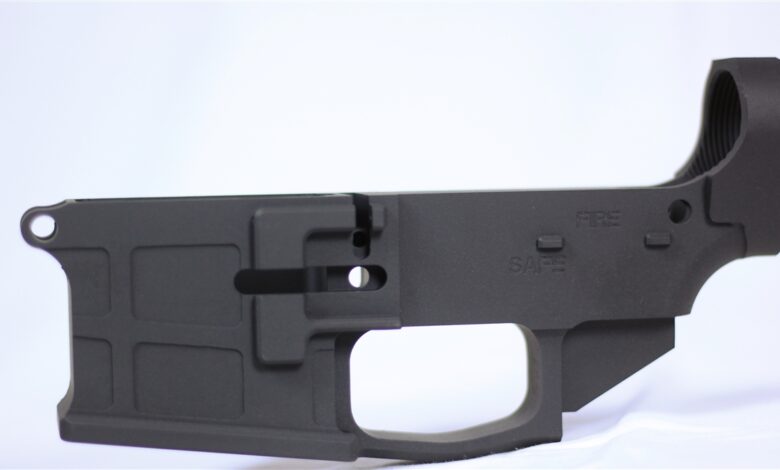
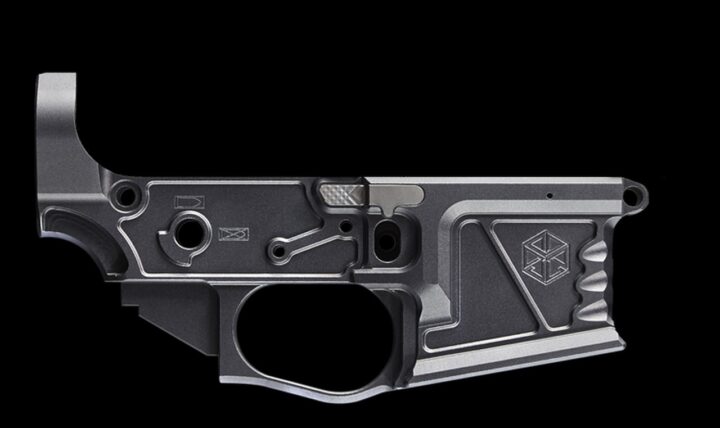
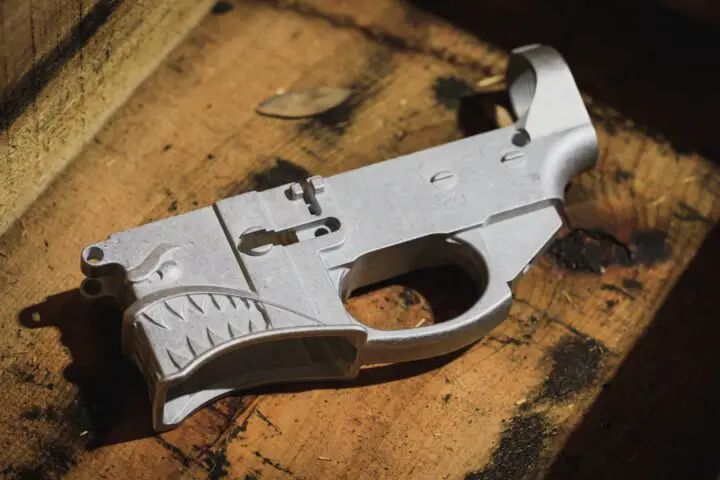
In simple terms, an 80% lower receiver is a piece of aluminum that is shaped like an AR15 receiver but is not yet completely milled. In fact, they’re 80% milled to completion. This comes with it two major benefits.
The first is convenience. Because an 80% lower is not, in the eyes of the ATF, a firearm, it can be shipped directly to your house unlike a regular, completed firearm that you can find here. Since you can already buy all other parts of an AR15 and have them shipped to you, it makes it possible to have all of the components of a rifle shipped to your door so that you can build it yourself.
The second major reason people go with these is political. The vast majority of firearms manufactured or imported in the US are, at some point, registered with the ATF, placing them in some kind of federal or state database.
Some folks take political issues with that and thus would rather have a firearm that the government has no record of.
Keep in mind, milling an 80% lower does not in any way exempt you from state or local laws. We’re not lawyers, and we’re very much not your lawyers, so do not construe anything we say here as advocating for a specific action or as legal advice.
Additionally, we do recommend that you do your own research on the matter and consult a firearms attorney if you have important questions.
Setup and Tools
First and foremost, we highly recommend that you do your research on specific kits that come with the lower and a jig. Ideally, a good kit will come with extremely detailed instructions that will supplement this general guide.
From there, it’s also a great idea to poke around forums and YouTube to see what people are saying about the lower and for detailed build videos. Because making a lower is a one-shot deal, having a detailed plan before you start is a great idea in our book.
In general, you’ll need the following tools and supplies:
- A drill press or milling machine
- A vice to hold the jig
- The jig that comes with the lower
- The lower itself
- Machining oil
- Drill bits are indicated with the instructions for the kit.
We also highly recommend getting some safety glasses, as sharp metal fragments can go flying during the milling process, and we would much rather you not end up in the hospital. Additionally, having your work area well lit, ventilated, and quiet will keep you both safe and focused.
Some digital calipers and drill stop collars will also go a long way to ensuring your success in building your AR 80% lower into a precision-made, custom rifle or pistol.
For a first timer, having an experienced person around is not a bad idea. This can be done by an amateur, but we’d plan this is as something that takes all day. Go slow and be careful. Here, follow the saying that has guided good carpenters for years: measure twice, cut once.
Milling the Lower
First, you’ll secure the lower into the included jig, usually with Allen screws. Make sure these are aligned perfectly and hand tight: you do not want your lower moving around in the jig. There’s typically a pilot hole template included in the jig kit, which will go one next before you put the jig and receiver in the vice facing up, being careful not to overtighten.
Using the drill bit indicated in your instructions, drill the pilot holes into the receiver to the indicated depth you set using the drill bit stops and calipers.
Once the pilot holes are cut, there’s typically a second template that replaces the pilot hole template. Follow the depth instructions on it to the letter and finish machining the receiver carefully.
Turning the jig to one side, there will also be hammer, trigger, and safety pinholes of differing drill bit sizes indicated on the jig. Drill those to specification.
In broad terms, that’s really all there is to it. The specific addictions will vary by the kit you buy, and when in doubt always defer to those. A few extra steps to ensure that things go well are first measured here.
First and foremost, read, re-read, and then verify all steps in the instructions before a drill meets metal. It’s pretty hard to put metal back once it’s gone. Second, always wear safety glasses and use a little machine oil to prevent hot metal from binding, melting, or throwing fragments at you.
Populate the Lower with Parts
With your 80% lower now finished, you’ll need to populate it with parts.
Many companies offer complete kits with the trigger, trigger guard, sear, buffer tube all of the springs you’ll need. Generally, these are the way we like to go and keep things simple.
While this guide isn’t so much about putting the parts in, we like to start with the magazine catch before moving on to the bolt release. From there, we do the trigger, grip, and buffer.
All in all, assembling an 80% lower from scratch is something that most people who are fairly handy can do in an afternoon. Once the drill press comes out, a lot of people get intimidated by projects.
We don’t think this is a project that is beyond most people’s skills and would encourage you to take a shot at if you want a rifle that’s all yours.
Aside from the two reasons we gave initially, there’s also a third, deeply compelling reason to doing your own 80% lower.
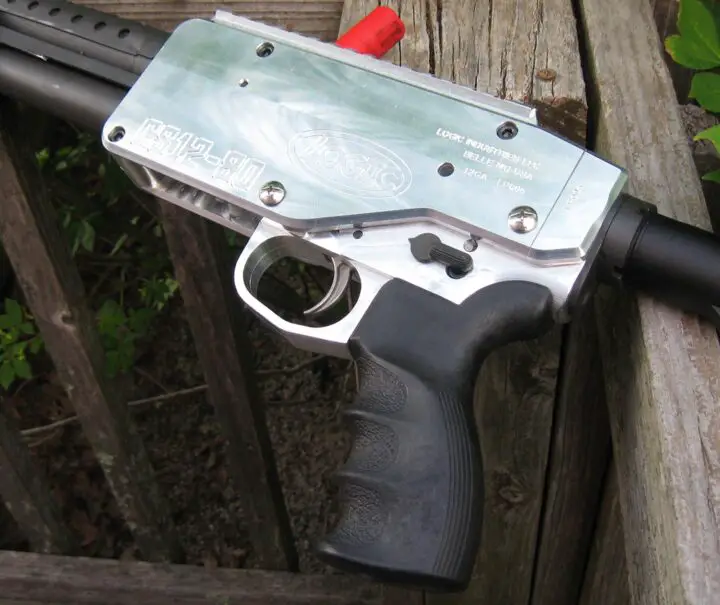
The satisfaction you’ll get from making your own rifle from a piece of mostly finished aluminum is awesome, and a feeling that we enjoy a lot every time we take a custom gun to the range.
If you’ve been considering making your own AR lower from an 80% receiver, do a little research and then jump in, 5D tactical has them to purchase and it’s a relatively simple project that’s a little challenging but a lot of fun.