How to Change Filament on the Ender 3?
You got a new printer but changing filament is killing all the fun out of it? All you want to do is create and express yourself but technical works just keep getting in the way? There’s a way to make this process hassle-free and enjoy it. You just need a little bit of practice and patience. After this guide, you won’t hate the thought of changing filaments and you will be excited about each new project on your Ender 3. Removing old filament before inserting a new one is what seems the trickiest but a few hacks can make this process less stressful.
Here are step-by-step instructions to help you change and load filament easily and fast.
1. Remove old filament
In order to load a new filament, you must remove the one already inside that is printed.
First, you need to turn Ender 3 and you will know that it’s ready to work once the menu appears on the LCD screen. Then, click the button that opens a menu, and find control settings that you will select. Select the “temperature” button and click the Nozzle setting. This way, you will heat the nozzle to melt material inside it. You can check the heat process on the printer screen. The perfect temperature for PLA material is 100°C, while for other materials it might take more heat. Once it heated up to the melting temperature you selected. After that, press the lever of the extruder which will relieve the handle, and then you can pull out the old filament. Then you can take off the filament spool.
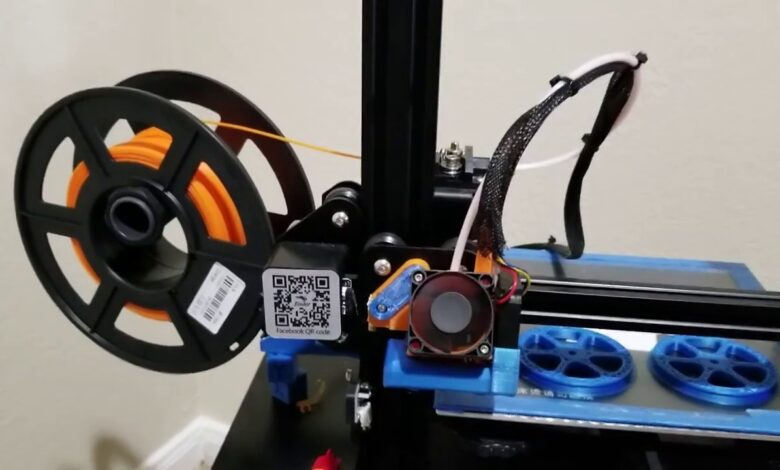
Make sure that you have threaded the filament end into one of the holes so that filament is stored properly and ready for next use. You will find holes to thread through at the edge of your filament spool.
2. Load new filament
Now, your nozzle is free and the machine is ready for a new filament.
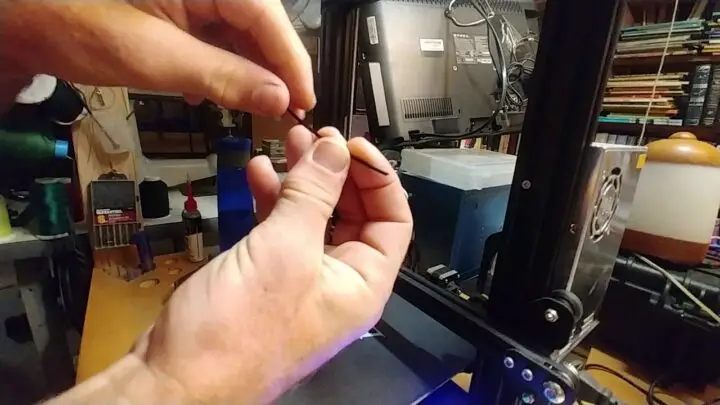
First, you need to add filament into the extruder of the 3D printer. This will be easier if you cut a sharp angle at the end of your filament. You can use cable cutters to cut the end. Keep your filament straight for at least 3 inches and vigilantly insert it into the extruder. For PLA material heat of the hands is enough, but if you use some other material you should consider adding a little extra head. You can use a hairdryer or any heater at your disposal. The moment you feel resistance when you’re pushing filament into the extruder is the moment you reach the Teflon Bowden tube. This means that you have placed it well, it’s close to the nozzle and ready to be extruded.
If you’re using a welding technique to connect old and new filaments, make sure that you are careful to not burn your fingers. Also, you should keep in mind that welding can be messy and cause material dripping to the places not so easy to get it out of. If you still choose to use this technique take care of the welding seam and shape it into a nice transition.
3. Flushing the nozzle
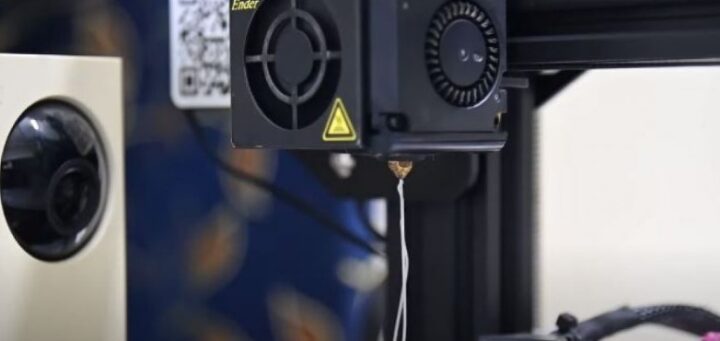
To flush the nozzle you need to feed it filament which is where the extruder helps. We do this step so that we can completely remove the previous filament from the nozzle. Fortunately, Enter 3 is equipped with functions that permit the removal of the old filament.
Here’s how you do it. First, find the control button and select the setting menu. Choose the “axis” and set it to one millimeter. Next, click on Nozzle and set it somewhere between 15-20. You will see material going through the nozzle and extruding old material so that a new one can be loaded. Don’t worry if the old filament doesn’t completely go out at a first cleaning. Do it several times until the previous material is completely out of the nozzle. You will know that the nozzle is clean once you see new material being heated and pouring out of the nozzle.
What can happen sometimes is that the nozzle gets clogged. This trick will keep the frustration away, just remember to do it properly and you’re all set. The Plop Method is very helpful in these situations. What you need to do is determine the printing temperature and then add 5-10°C and preheat it. When you reach printing temperature plus 5-10°C you can discharge the tension on the extruder while holding the extruder down.
Keep pressing the material until you see a nice filament thread coming out of the nozzle. After you establish that the material has a nice flow, you just need to rip the filament with jerkily movement. Do this movement upwards and then you will pull out stuck material because of the suction created when you ripped upwards.
The name of this method comes from a specific “plop” sound that means that the nozzle is unclogged and ready to use.
There’s also a Coldpull Method (Atomic Pull) which is helpful if hotend or nozzles get clogged. Recommended material to do this is nylon. All you need to do is heat the nozzle, let it cool, and then pull it out of the hotend.
Another good tip is to change your filament during the mid-print, while da the process of change is still the same.
If you found these tips helpful and want to get more into printing, we can help. For even more insight into the world of 3D printing, we’ve designed this handy buying guide which includes everything you need to know to make the right choice: https://43dprint.org/best-3d-printer-for-cosplay/.
If you follow these instructions, your creative process will remain intact. We all know how it feels to start those creative juices flowing and then have to do some technical work that removes all the joy from the process. If you make this filament change easy and slightly adjust your mindset when it comes to technical sequences of the work, you will keep your creative energy. Keep going and create something amazing!