How to Test a Gas Valve on a Furnace in 5 Steps

When your gas furnace becomes faulty, one of the things you notice is that it starts shutting off unexpectedly. You’re going to learn a lot in this article, starting from facts about the furnace gas valve to the equipment and tools you’ll need for testing your furnace gas valve.
How the furnace and valve work
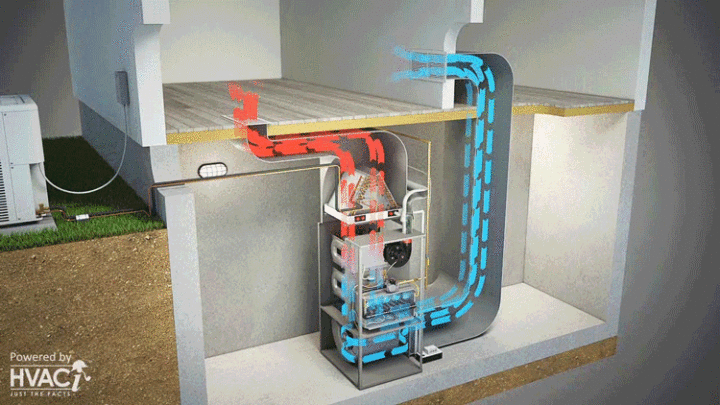
The inner furnace works as many parts, but the valve is among the most critical ones. It works just like any other valve by opening and closing to provide gas flow to the burners and pilot light.
For your furnace to operate, it requires two different gas valves. The two are located side-by-side but work differently. First, there is the primary valve, which you may call the safety valve, and its function is to supply gas to the burner heads.
Current valve designs are actuated with electromagnets for opening and closing. A thermocouple is attached to operate electromagnets within the flame of the pilot light. The thermocouple cools when the pilot light goes out, and the primary valve closes. This prevents a flow into your house, and this is why it’s called a safety valve.
A 24-volt AC transformer powers the main valve’s thermocouple. The active power supply is necessary because the second valve is connected to a wider bore pipe than the pilot’s light.
The gas valve is also wired in series as an extra precaution, while other safety devices are located inside the system. This ensures that the main gas valve will shut off to prevent gas leaks if a problem is detected at any point in the system.
When the thermostat signals that the home’s temperature is lower than the required temperature, the primary valve opens and closes to compensate for and maintain the set temperature rate.
Equipment and tools needed to test a furnace gas valve
The great news is that most of these items and tools are helpful for other purposes in your home. So, you can regard them as a reasonable investment in your arsenal of DIY.
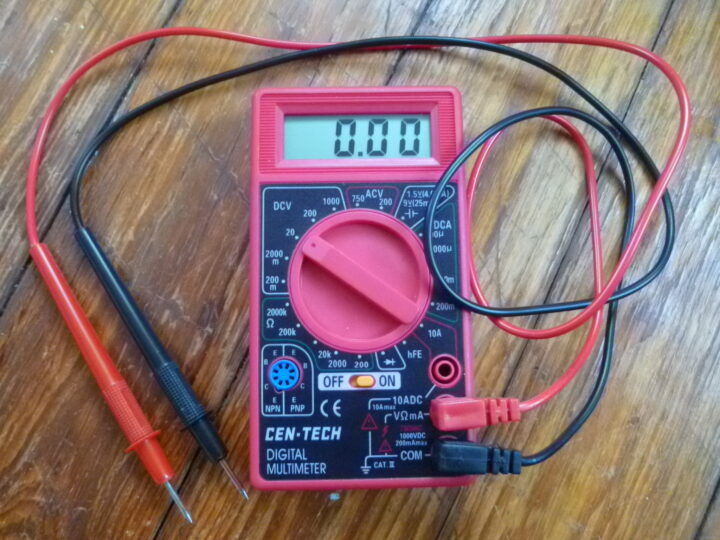
High-quality Clamp meter and Multimeter combo kit:
This will be useful for testing your gas valve and several other electrical components in your HVAC system and other household electrical units.
Jumper wire set:
The distance of the gas valve from the transformer varies from system to system. In order to cover the gap while checking the valve operation, a jumper wire set will be needed.
A socket set:
To gain access to the inner workings of your furnace where the gas valves are located, this will be needed. The sizes of the bolt differ, and that is why I recommend getting a complete set.
5 Steps on how to test a gas valve on a furnace
Before you get down to testing your gas valve, it is highly recommended that you first check for the possibility of a gas supply issue. The best way to go about it is to try any other gas-powered equipment in the home. For instance, if the stove works, you still have gas. However, if it does not work, then you might have a very different issue at hand that requires a professional’s involvement.
Here’s how to test a furnace gas valve.
Step 1- Start the furnace
You should activate the furnace and, after that, signal the control board for heat. The easiest way to do this is to tune the thermostat to a higher temperature. This will help turn on the hot surface igniter and energize the draft motor. If every other thing is in order, the valve should be energized at this point.
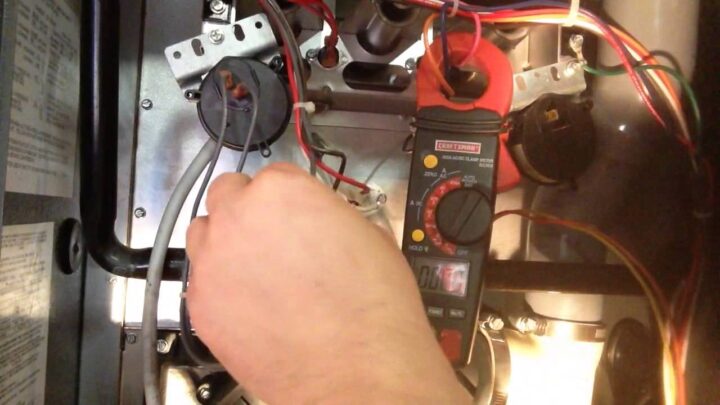
Step 2- Ensure that the gas valve is getting current
Usually, there should be two wires connecting to the valves. You can select anyone. It doesn’t matter at this stage. Clamp the selected wire with your clamp meter. Carefully observe the display on the meter as you fire up the furnace. Try clamping the other wire if it reads 0.0. If you notice a small amp draw of up to 0.2amps for a few seconds, then you have the suitable wire. With this, you can determine whether your valve is getting power or not. You should know that this doesn’t guarantee the condition of the valve; it merely rules out electrical fault as one of the culprits.
Step 3- Check the voltage
To be sure of the power situation, it is good to check the voltage also. Use the multimeter, tune it to Volts AC (VAC), and put the probes on the connection between the gas valve and the wires. Call for heat, and within 3 seconds, the meter should be reading around 24 volts. If you discover that the gas meter is truly getting this amount of power, and yet gas is not flowing, then power can be eliminated as a possible cause of the problem.
Step 4- Shut off the power supply, then switch it on
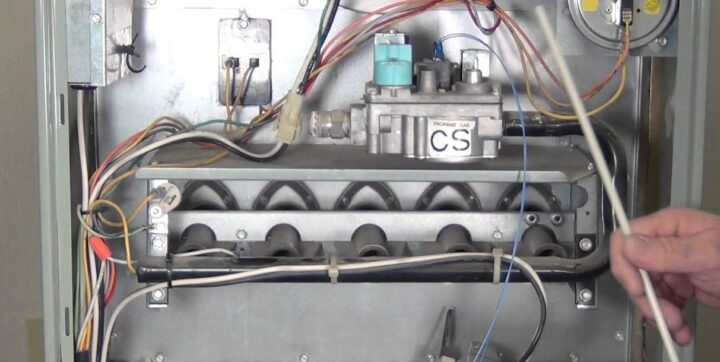
Now you can shut off the power supply to the system to prevent the risk of accidental firing or electrical shock since you have determined that power is not the problem. Next, remove the low voltage wires from the gas valve and replace them with two jumper wires. Be warned that the following check should not run for more than 3 seconds.
Check the transformer; there are two sets of wires, 24v red and brown, and line voltage in black and white. Connect the jumper wires accordingly from the gas valve to the connectors. Reconnect power, close the door, and switch on for about 3 seconds. Be attentive to the flow of gas. If the gas doesn’t run, the gas valve is certainly bad.
Step 5- Reset the control box and close it up
By now, you must have discovered that your issues are connected with either power, the gas valve itself, or other undiscovered problems. It is recommended to shut down the system immediately and seek professional help. Whatever the issue is with your gas furnace, Clover Services can help you fix it.
Conclusion

There is nothing wrong with learning how to test a gas valve on a furnace. However, it is advisable to take a good picture of the wiring arrangement and the gas valve before starting. This will serve as a helpful reference when you have to return wires to their default positions.