Minimalist landscapes with solitary elements can hardly be said to be a novelty. Many photographers and artists play with subjects in which solitary figures interact with their surroundings. The subject has migrated into landscape photography in particular. Remember that sometimes a stunning shot can be captured even on a smartphone with a good camera. If you want to learn how to take better photos on your phone, read the material about how to do long exposure on iPhone and other interesting articles on the Skylum website.
The idea of a solitary tree allows landscape photographers to create an expressive and spatial image. How can you implement it and capture a single, standout tree? Here are a few tips to help you get creative in depicting this subject.
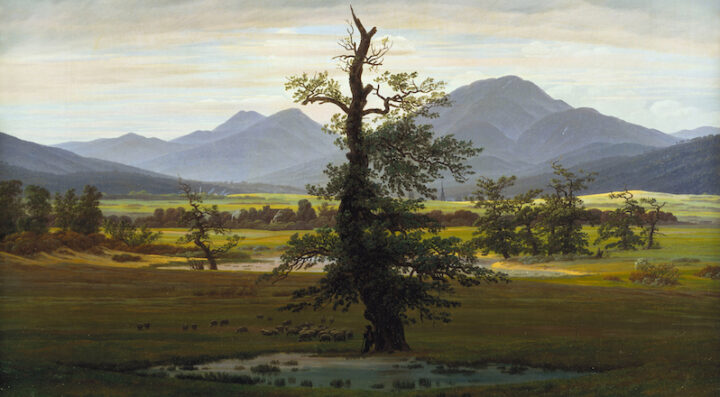
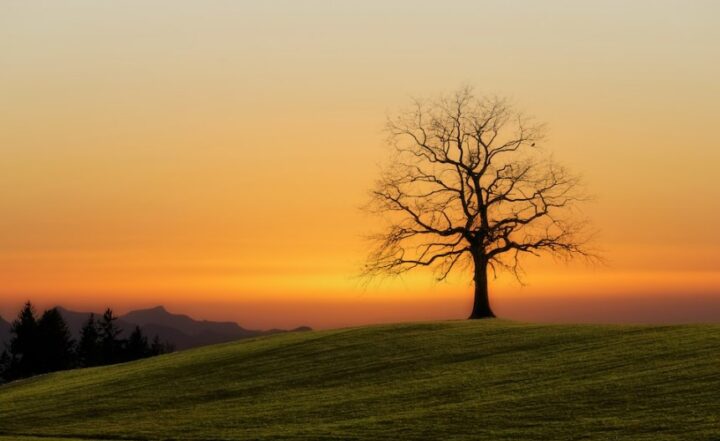
Golden Hour
Nothing embellishes a lonely tree better than a riot of color in the background. This is probably one of the most valuable tips for capturing a great shot, so we’ll break it down in order:
- Shoot during a colorful sunset and frame the shot so that the trunk of the tree overlaps the sun.
- Estimate your exposure to the sky to preserve its details. Continue photographing after the sun goes down.
- The light reflected from the clouds can illuminate the scene you are photographing.
For the sake of a great photo, you can wake up early and watch how beautifully the hues of the sky change at dawn. You’re sure to find the right subject.
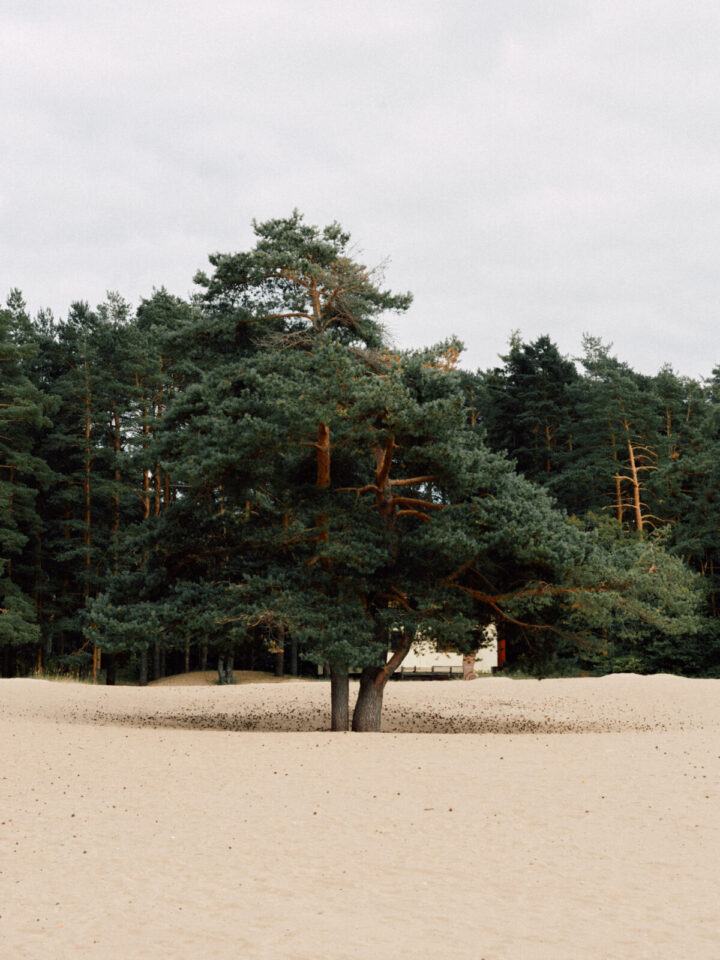
Seasons
Photograph a solitary tree when it looks as natural as possible for the current season. Study the climatic features of the location, choose a few trees, and photograph them early in the season. Chances are high that you’ll create great photos within city parks or near roads. Strong images can come out when you are conscious of the time of year and the time of day.
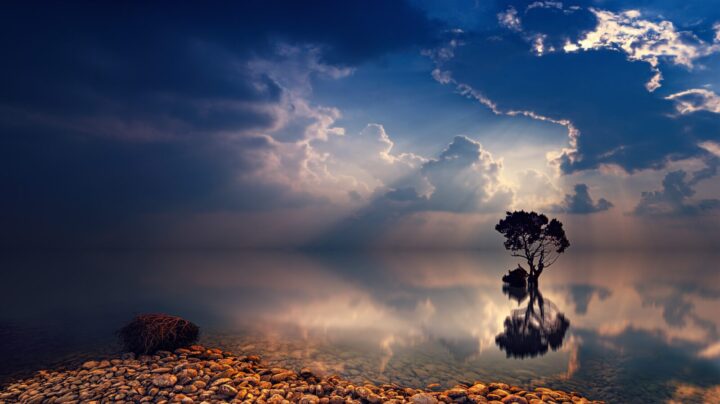
Clouds
The sky often creates the entire landscape. Set up your camera and wait for the clouds to take a good position. What happens in the sky will either build or destroy the picture. Look for and determine the ratio of fragments of clear sky to clouds. Take pictures in both horizontal and vertical frame positions.
In black and white
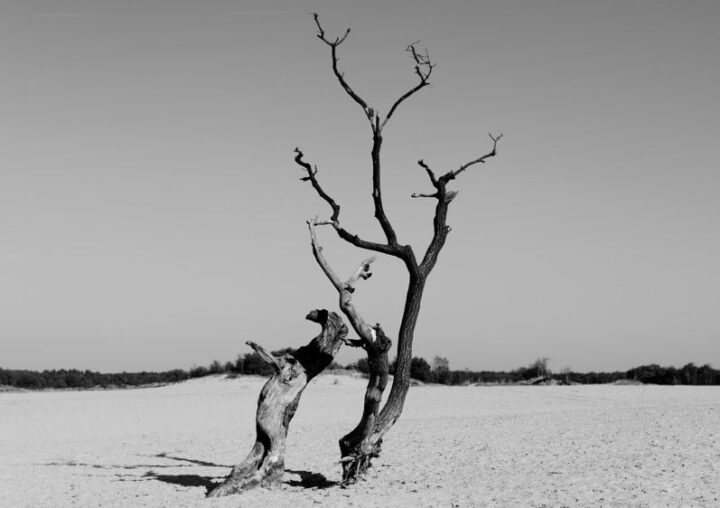
An image in tones of gray releases color and draws the viewer’s attention to shapes and textures. Black-and-white photos of solitary trees are expressive but remember that colorlessness shouldn’t turn a shot into a boring, storyless image. The effectiveness of this technique depends on the lighting. You might want to see what the picture will look like in black and white beforehand by adjusting the saturation level in the RAW interpreter if you are using a professional camera.
Infrared spectrum
Dive into the fairy tale by capturing the subject in the infrared spectrum. This is an excellent way to depict lonely trees. The leaves and grass surrounding the tree turn white like snow. Find out if you can remove the infrared filter from your camera. Or, for simplicity, play with the color settings of a normal photo or use a special additional program.
Speaking of photo editors, you may have to remove the background. When it comes to removing the background location from images, it’s the most time-consuming process, and it can take hours to create a single image. However, using Luminar Neo’s artificial intelligence technology, you can complete the task in a couple of seconds. This software is equipped with advanced AI tools that can automatically detect and select an object in an image.
Polarizer
Polarizers allow you to filter out the reflection of light rays from moist air, the blue of the sky will look crystal clear. Plus, there’s no better way to highlight clouds against the sky, and reduce light reflection from the leaves and grass surrounding the tree. The maximum effect of a polarizer is achieved at a right angle to the sun. However, pay attention to darkening the corners of the image, especially when shooting with a wide-angle lens.
Sunbeams
This trick may seem tricky. Just set your camera on a tripod and frame the shot so that the sun is hidden behind a thick tree branch. Move the tripod closer to the sun until part of it is visible from behind the branch. If you’re shooting with a professional camera rather than a smartphone, set the aperture to 16. You will be able to get the effect of the sunlight spreading into the frame. Try different compositions and also increase the aperture value to 22. With some lenses, you will be able to get spectacular results.
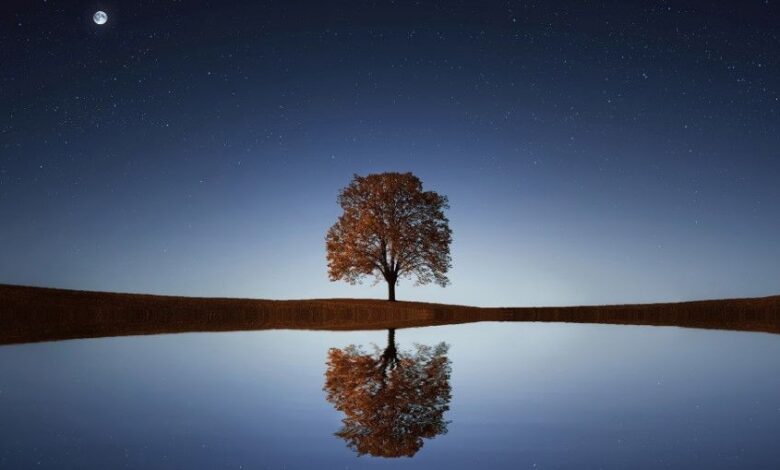
Painting with light
Another way to take advantage of darkness is to draw with light. Headlamp light and moonlight have similar color temperatures. So try photographing in the moonlight by illuminating your subject with a flashlight. Carefully check focus accuracy by looking through the viewfinder or in live view mode on your camera.
Silhouettes
Frame the shot so that the light source is facing you. Estimate the exposure from the sky. Excessive light intensity will turn the image of a tree into a silhouette, giving it a threatening look, or perhaps even the look of a spreadable ink blot. Move away from the usual rule of thirds, and look at the composition differently. Harmoniously distribute dark and light spots in the frame, trusting your sense of beauty.