The Steps for “Silent” Floors – Fixing Squeaky Floor Issues
One of the most common and annoying issues that homeowners and tenants face is squeaky floors. This can be a big headache because it interrupts conversations and your concentration. The good news is that there are ways to fix these problems! In this blog post, ChestnutFlooring will share steps for fixing squeaky floors so you can get back to enjoying your home or apartment again.
What Causes Squeaky Floors?
1) Squeaks can occasionally come from structural problems in the foundation of your home. For example, if there is a gap between the foundation and the floor, this can cause your house to become unstable. This is why it’s important to check for damaged wood beams and support systems in the basement or crawl space of your home as well as any other parts that may be causing squeaky floors.
If you notice a crack in one part of the beam, there could be damage to the entire beam. In addition, if your home is older and there are no beams or support systems underneath it from when it was built, this could be a problem as well because the current load on your floor may not match what was originally intended. In other words – you need to make sure that any additional weight added onto the level of your home is supported by the floor below it.
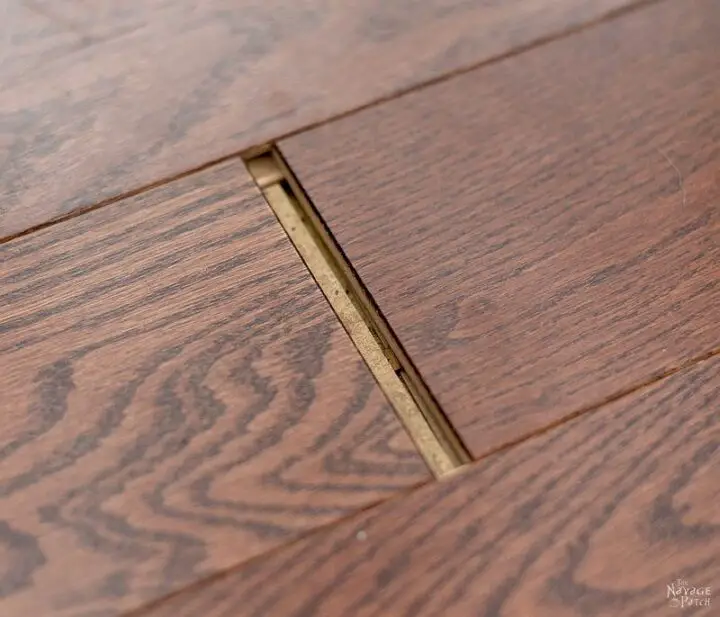
2) Subfloor Issues often cause squeaky floors as well. For example, if you notice that your subfloor is separating or cracking around the edges of your floorboards, this can create an opening for air to get underneath it and cause noise when walking on top of it. This may be because there isn’t enough adhesion between the layers or that they are not properly attached to each other.
3) Temperature & Humidity Issues can be a nightmare for causing squaky floors! As with any wood, it is important to make sure that your flooring has the proper amount of humidity. If there is excess moisture in your home or apartment – this can cause problems for wooden floors as well because they begin to swell and contract based on these changes in temperature and humidity (and sometimes even shrink). For example, if you notice some buckling around the edges of your boards, this could be an indication that there isn’t enough room between them for expansion or contraction. This may also give rise to squeaky floors!
Typically excessive moisture coming into contact with wooden surfaces causes warping which can create gaps where air gets underneath the boards and causes squeaking. In addition, if there is a high level of humidity in your home or apartment – this can cause the wood to swell which may also lead to gaps between them where air comes through and makes noise when you walk on top of it!
In order to prevent warping from happening, make sure that any changes in temperature and humidity in your home or apartment are not too drastic. This may mean opening a window to let the air flow through, using a dehumidifier when needed, or trying other ways of controlling temperature and humidity that work better for you!
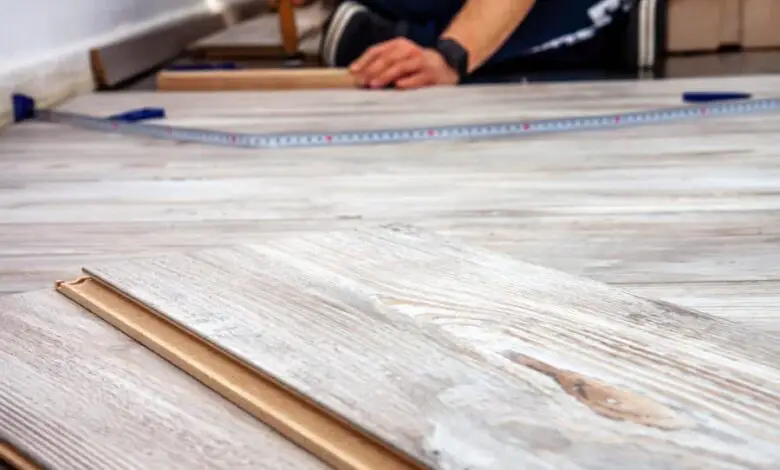
4) Improper Installation or workmanship causes floors to be squeaky! If there are spaces in between the boards or gaps in your flooring that weren’t properly filled – this can cause air to get underneath it and make noise when you walk on top of it.
Make certain you get answers to these questions before signing off on any sort of installation.
How to Fix Squeaky Floors?
- Inspect the floor for any damage – Inspect the floor for any wear and tear. If you notice damage, such as a small crack or loose boards, it will be necessary to repair this before going further with your squeaky floors solution.
- Fill in holes with wood filler or spackle – If there are any holes or dents in your floor, it is important to fill these areas so that the squeak isn’t originating from a loose board. Wood filler and spackle can both be used for this purpose. You can use either wood glue or construction adhesive on one end of a putty knife and spread onto an area slightly larger than the hole itself. In addition, cover about two inches surrounding each side of the hole as well – make sure not to leave any gaps where water could seep through later on down the road! Press strips of fiberglass mesh into the area that you have filled with wood filler or spackle. Allow it to dry for at least 24 hours before proceeding.
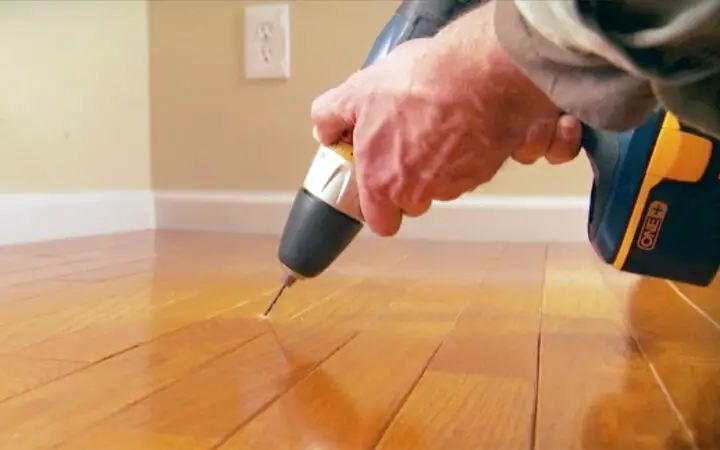
If there are any areas of your flooring where the boards seem warped, loose, or damaged beyond repair – these need to be replaced as well! Use a crowbar and pry out nails from each board one by one – make sure not to damage them in the process! After all, old pieces of flooring have been removed, lay down new plywood panels and secure them into place using galvanized screws. If necessary, use fibreglass mesh underneath each screw hole for added support – this will prevent squeaks from arising again later on down the road too. Once you’ve completed filling holes and replacing missing/damaged floorboards, let the newly patched areas dry for at least 24 hours before continuing with your squeaky floors solution.
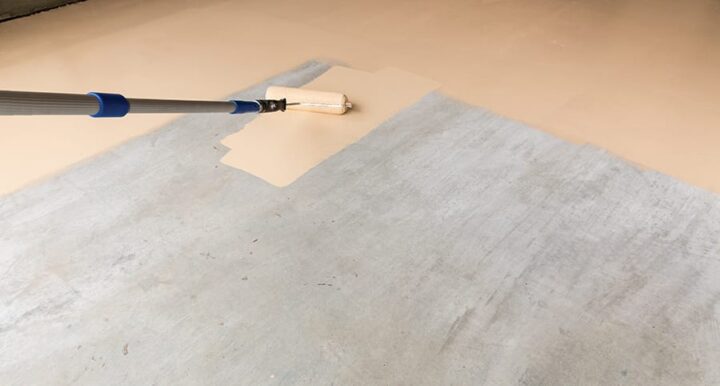
- Apply a coat of primer to make sure that your paint will stick to the floor – Now that you’ve prepared the area, it’s time to paint! You’ll want to apply a coat of primer before applying any latex paint. Make sure all areas are clean and dry before doing so – this will allow for maximum adhesion when painting your floors.
After waiting at least 24 hours after priming – you can begin with the actual painting. Use an oil-based polyurethane or deck sealant (only if using water-based paints) in order to prevent splinters from developing later on down the road too. Apply two coats if necessary, letting each layer dry for about 30 minutes between applications.
Once everything is dry then you can go ahead and take a step back, admire your work, and enjoy squeak-free floors!
- Paint over the primed area with two coats of latex paint – Now that your primed area has been patched up and sanded down, it’s time to paint! Make sure all areas are clean and dry before you begin. Apply a coat of latex primer followed by two coats of latex paint, letting each layer dry for about 30 minutes between applications.
After everything is completely dried – go ahead and take a step back, admire your work, and enjoy squeak-free floors!
- Add an additional coat of polyurethane if desired, but it is not necessary – If you are using water-based paints, feel free to skip this step. However, if you are painting with an oil-based sealant – it is important to apply at least one additional coat over the painted area in order to protect your floors from wear and tear later on down the road! Allow paint or primer to dry for 24 hours before applying polyurethane.
- Seal seams where walls meet floors and replace threshold plates on doors if they are worn out or damaged – If you have any seams where your walls meet the floor, it is important to seal these with caulk. Doing so will prevent water from seeping into gaps between tiles later on down the road as well! Additionally, if door thresholds are worn out or damaged – replace them right away in order to avoid discomfort when walking over floors that are not properly sealed.
After waiting 24 hours – replace any worn out or damaged threshold plates on your doors, and seal any seams where walls meet floors with caulk to prevent water from seeping into gaps between tiles later on down the road.