How do you make an Acrylic Keychain step by step?
It sometimes seems that we are constantly on the run, regardless of whether that’s because we are in a hurry to finish some task or job or in our spare time. Now, the fact that we spend a lot of time outdoors means that we constantly have several items on us. Phone, wallets, and keychains are the top three things we all carry everywhere we go, and even though we care so much about the first two, there are so many things we can do with keychains.
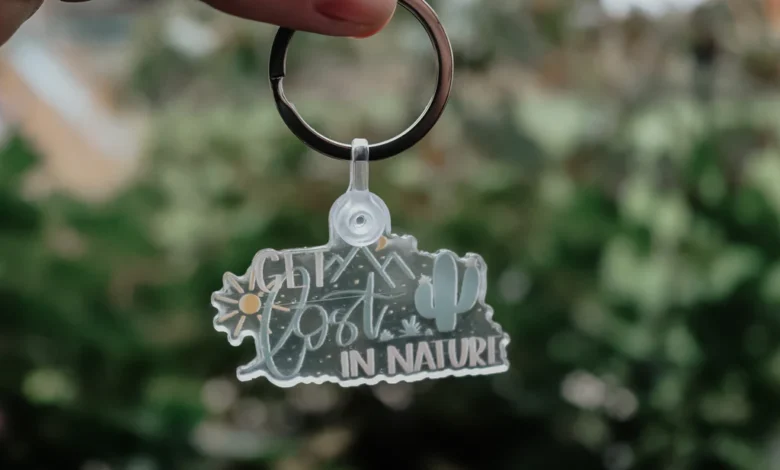
There are some classic designs of keychains that are very popular, but lately, there is a huge hype over acrylic keychains, and what’s great about them is that you can easily find the one you are fond of online at vograce.com or make one yourself, which is what we will discuss next.
Deciding on the shapes
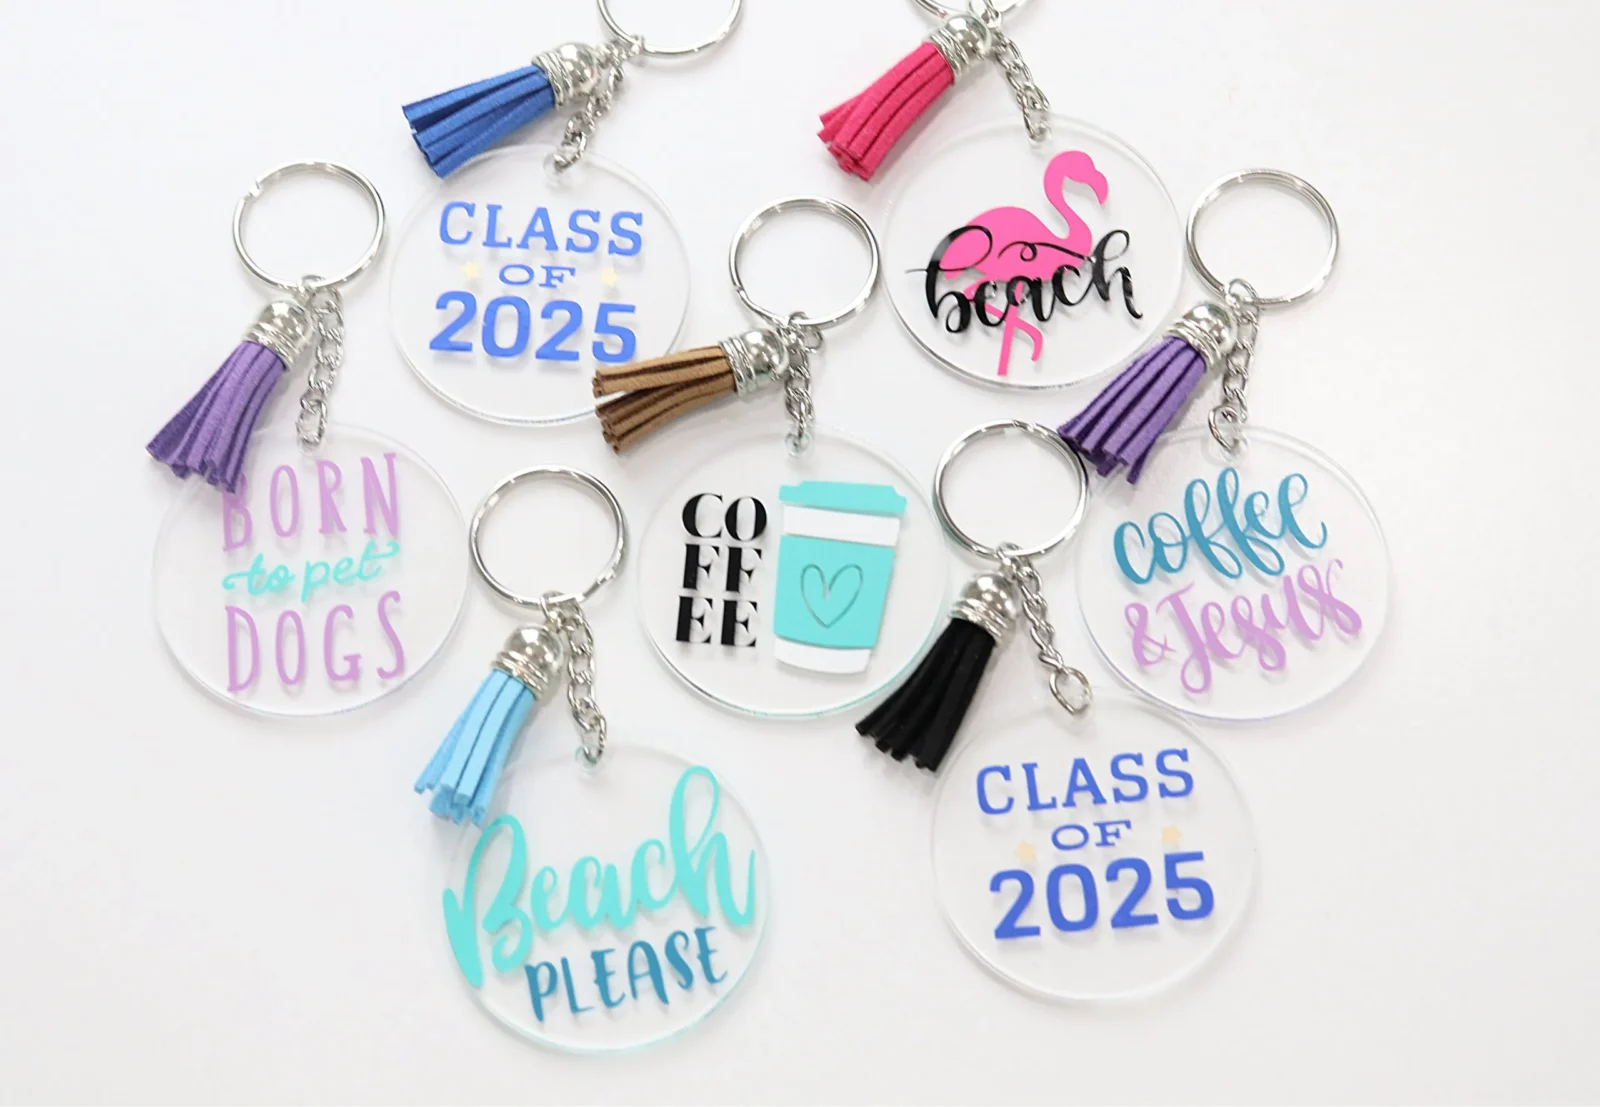
There are many reasons why acrylic keychains are so popular, but high on that list is because you can pick any design and shape. Yes, even those who have never done it before can easily cut the shapes and create a keychain. Of course, having the right tools would of much help to cut those pieces easier and faster, but in some cases and depending on the style one prefers, one can use various tools to do so. Overall, this is the first step because depending on how many shapes you want depends on how big a keychain you’ll need.
On the other hand, one can also decide and buy certain polymer slices and make everything even easier and faster. Luckily, there are many renowned places where you can find these elements and shapes at a pretty low price. Go with a Christmas or Thanksgivings motives, and you will get a keychain for each holiday, or make one for Halloween and it can even be a part of your costume. The options really are numerous, and it’s all up to us to find and go with the design, shape, and style we want. The shape of fruits, letters, and lucky charms are also some of the options, but what’s great is that we can also order customized shapes online.
Determine the base of the keychain
Once we get a better grasp of what type and how many shapes we want on our keychain, the next thing is picking the right base for it. Now, one of the most popular is a keychain with a circuit, and even though this might seem challenging to make, it’s actually pretty simple. As for the material, the preferable choice is vinyl, as it’s easy to adjust and work with, and even though some also use other materials, let’s leave that to those with a bit more experience. Of course, one can order online the base for their keychain too, and acrylic keychain blanks could make your life easier, as the offer and diversity of these keychain blanks are vast.
Remove the plastic and place the shapes
Okay, this part might be tricky, as once you remove plastic, the surface behind it is pretty sticky and sensitive, so make sure nothing falls on it, and even avoid touching it as much as possible unless you want a keychain with your fingerprints on it. As for why this part is so tricky, well, it’s because, in most cases, you want to use both sides of the acrylic blank, and once you remove plastic from both sides, it gets even tougher to avoid scratching or damaging it.
Place the shapes carefully
These keychains can be great personalized and DIY gifts for someone we deeply care about, but only if done correctly, right? Well, even though this part is not as tricky as the previous one, placing those shapes we have cut or ordered can cause some problems. The best way is to start from one edge and then evenly spread the shape across the blank. It’s the best way to avoid doing it all over again just because your hands weren’t steady enough.
Glitter paint or acrylic paint?
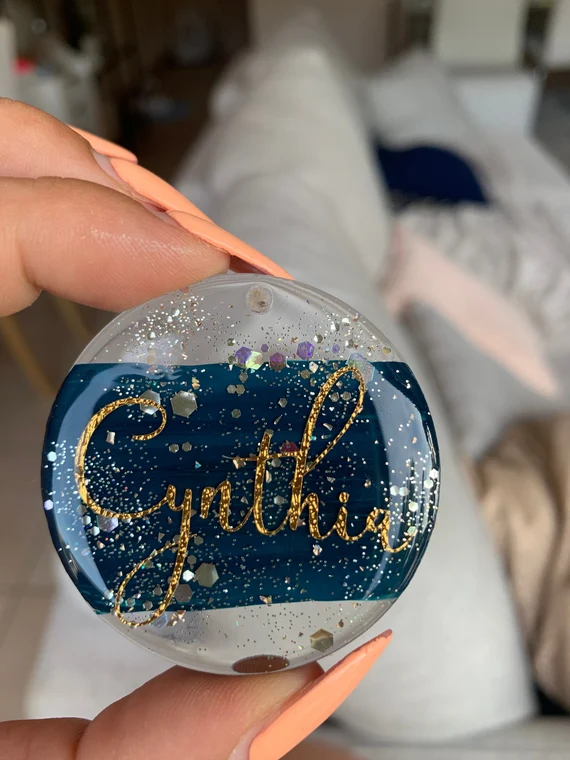
There is no right or wrong answer here, and one can opt and pick the type of paint they prefer or even use both types to get a more stylish effect. Understandably, first, use the acrylic one, and make sure to spread it evenly, but even if you are not satisfied with the results, just apply another layer of the paint to even it. Afterward, using glitter paint will add that sparkly effect, which will look great with some clay slices.
Add clay slices
Well, this is an obvious next step, but the trick here is to add these slices while the glitter paint is still wet, as you want the slices to stick. Use as many or as fewer slices as you want, but once you finish adding the slices, cover it with a decoupage medium so that it will hold it all together. There are plenty of brands and types, so just pick the one you prefer, and you will get that desired result. For those who find placing clay slices troubling, just use tweezers or some other tool to make it easier and avoid stressing over it.
The final touch
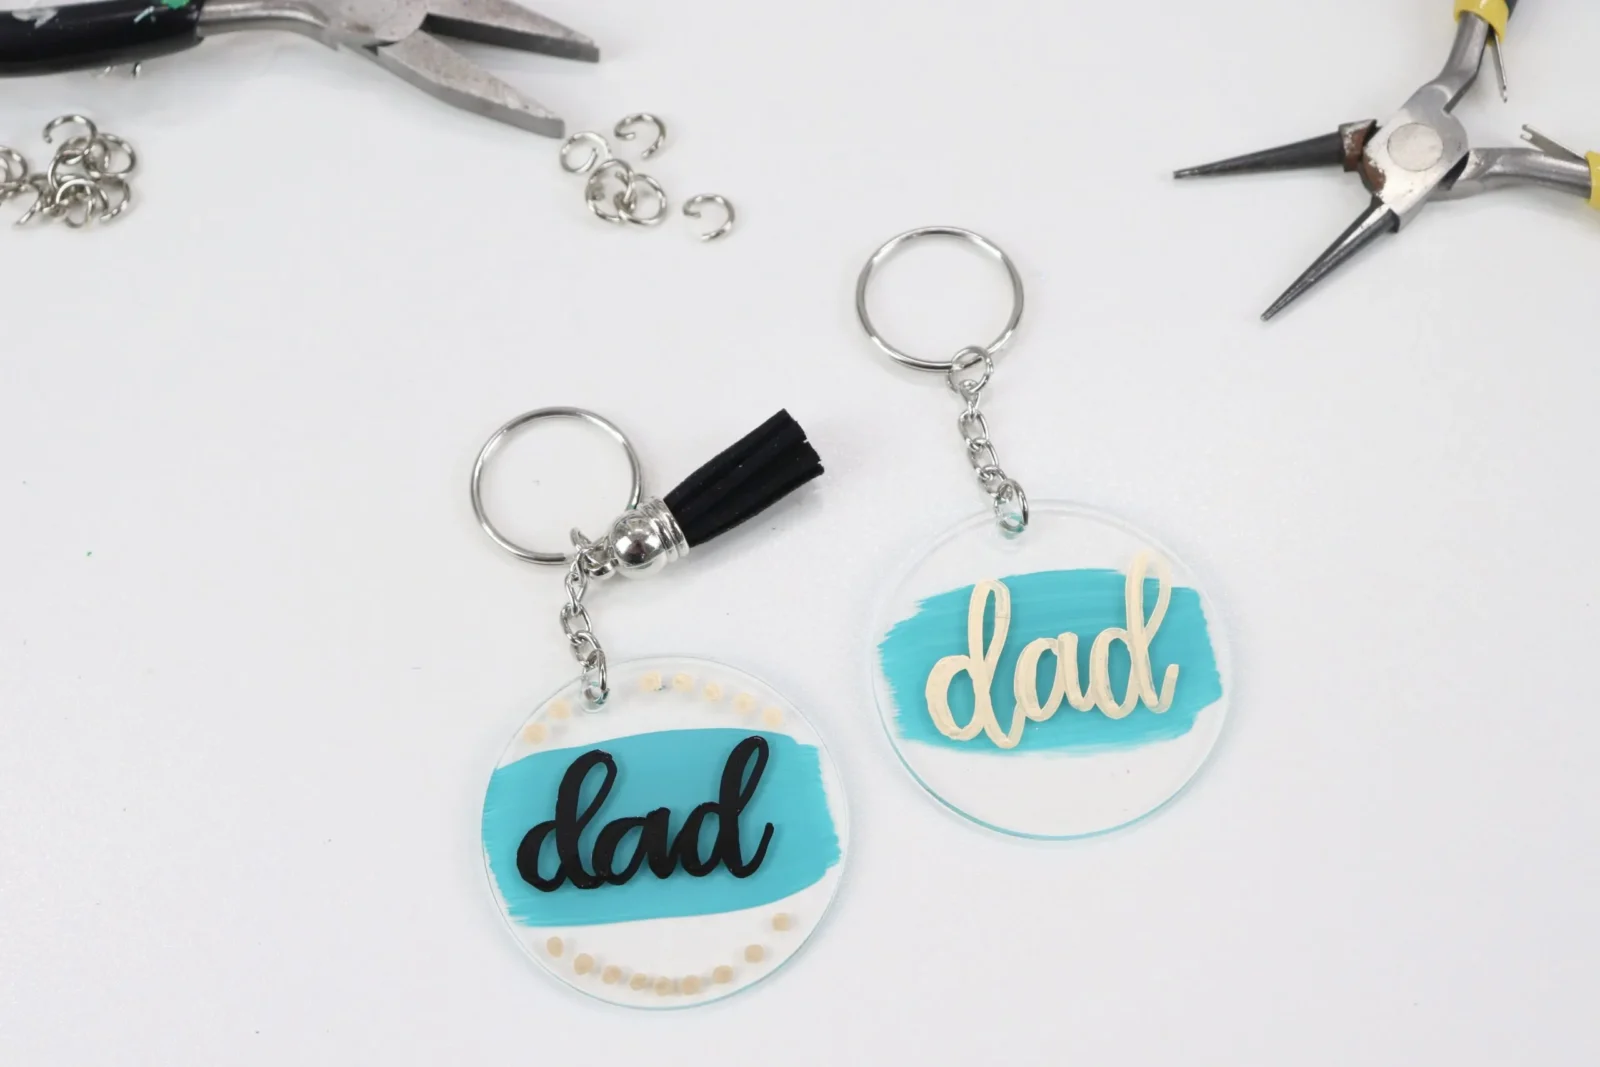
We have come to the last part, as now, all that’s needed is to add it to our keychain key ring and tassel, and voila, the entire “complicated” process of creating an acrylic keychain yourself is complete. If one cannot connect these two pieces together because their keychain is too small, just go through the toolbox and find something that will make the job easier. Overall, it is a pretty easy thing to do, but the overall effect will leave others in awe and something that will remind you how you made something with your own two hands. Besides that, making something from scratch is also a great icebreaker, so one can use it as a talking topic because if one thing is certain, it’s that it will surely draw attention because of its unique design.