When it comes to the photochemical etching process, it is an easy one, and here we have explained the entire process in detail.
In photochemical etching, metal is removed off the surface of a metal sheet controlled by using a chemical reagent. It is necessary to use photoresist technology to transfer the desired image or design onto a metal surface to generate an etched pattern. Following that, one must remove the metal from the image’s designated areas, accomplished with a chemical reagent and a solvent.
It is known as photochemical etching because of the mix of chemical reactions and photoresists that occurs during this process. The following sections provide in-depth coverage of each procedure, including photo etching, and can be perfectly found at metaletching.com.
Preparation Process:
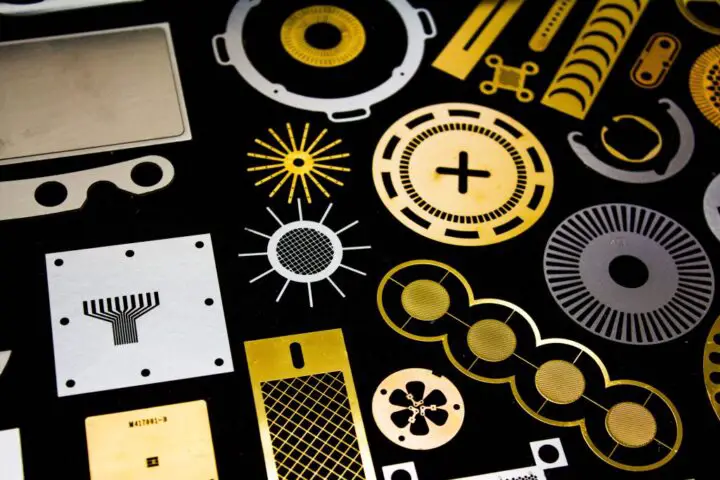
The type of metal and thickness of the finished product is determined by the customer based on the intended use. Photo etching can treat a wide range of metal alloys, including stainless steel, copper, aluminum, and titanium alloys, among other materials. On the other hand, several alloys are specifically intended to be highly corrosion resistant and, as a result, difficult to etch. Inconel 625 and other nickel superalloys are instances of this.
Initial steps in the preparation process include cutting the raw material into required sheet sizes and cleaning the surface to provide a good bond between the metal and the surface. Contamination can cause problems during the subsequent laminating and etching procedures. As a result, a clean surface is essential. It is necessary to clean the metal surface because grease, particulate matter, and other contaminants are removed during the cleaning process. Chemical reagents (degreasing and diluting acid solutions) are used with mechanical brushing in an automatic brushing device to clean the surface.
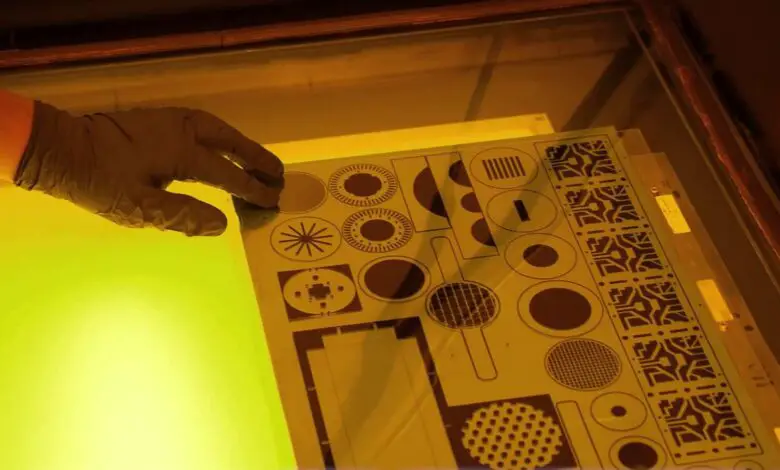
Manufacturing of Photo tools:
Using CAD software, the picture that will be etched into the metal is created and then printed on a transparent polymeric film, known as the photo-tool, before being carved. The requirements specified by the buyer make the image, and it is delivered to him. However, when designing the photo tool, it is necessary to consider an etching occurrence known as an “undercut.”
The American Chemical Society defines undercut etching as an etching beneath the photoresist’s edge. It is caused by etching occurring in all directions when metal is exposed to the etching solution (isotropic etching). In other words, the etchant will strike the metal both vertically (in the intended direction) and horizontally (as shown in the illustration above), etching the metal below the photoresist’s edge.
This result is that the etched feature created is larger than the size set for the printed image. When creating the digital drawing, One must consider this effect, and in an etch, one must include allowance or compensation. The charge is primarily determined by the required depth of the etched feature. The greater the depth of the etched quality, the greater the width of the undercut, and the greater the amount of correction necessary to obtain the correct dimension.
Lamination:
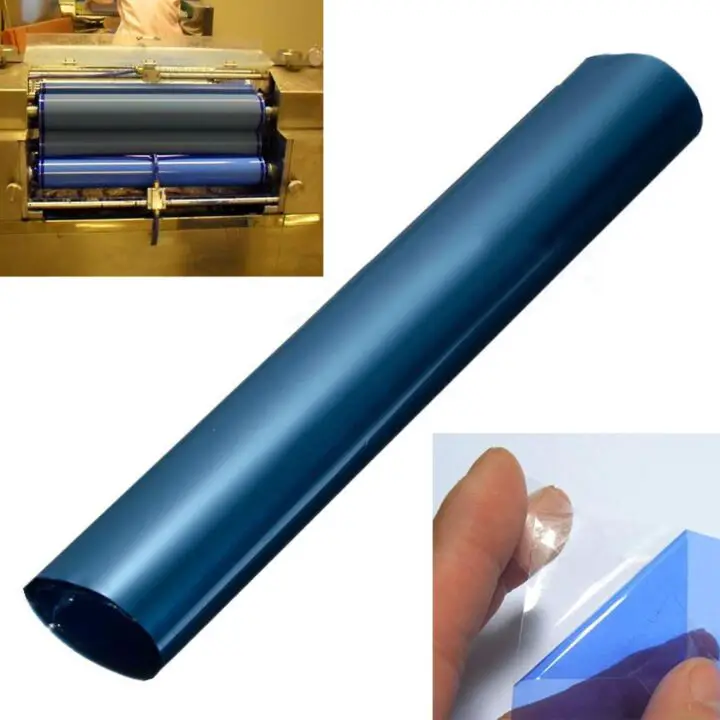
The metal sheet is covered with a dry film photoresist suited for the application during this phase. The metal sheet should be sandwiched between two photoresist layers, with pressure and heat applied during the coating process to create good adhesion between the photoresist and metal surface.
Printing and Exposure Techniques:
Photoresist coated, which is the laminated metal sheet, gets used in this instance to duplicate the picture created by the photo tool. When this phase is completed, it will specify exactly where the photoresist must get dissolved or removed for the metal to be etched in the particular areas.
There are two sorts of photoresists to be aware of: amorphous and crystalline. Whenever the opaque lines on the photo tool correspond to the areas that need to be etched, the photoresist is considered to be in a negative-working condition. If, on the other hand, the black lines indicate the locations that need to be insulated, we have a photoresist that is positive in operation.
Developing:

The process of developing is next and one of the most important ones. The soft or non-polymerized areas of the photoresist are removed from the laminated sheet by washing it with a moderate alkaline solution after it has been laminated. While this technique does not affect the photoresist, the photoresist’s polymerized (hardened) portions do.
This results in two distinct areas in the meta’s surface: a naked or even exposed area created by actually and selectively dissolving all the soft photoresists to construct a desired and needed pattern and (ii) a protected area covered by the hardened or polymerized photoresist.
Etching:
Etching removes the exposed or bares metal from the sheet while leaving the shielded parts of the sheet largely undamaged (except for the effect of undercut as explained above). The sheet is fed into the device by a conveyor in an etching machine, sliding horizontally across the chamber. Oscillating spray nozzles on the inside of the etching chamber send the etching solution to the surface, which is metal, where it reacts with the atoms of the metal to produce a chemical reaction. It is important to note that the etching reaction is a redox reduction-oxidation reaction in which the etching agent oxidizes the metal. The response is described as follows: After the metal has been corroded, it will dissolve in the fluid.
The Process of Removing the Photoresist:
After the etching process is completed, it is stripped away in a conveyorized stripping machine. This is accomplished by exposing the entire sheet, which is photoresist-coated for the proprietary solution (alkaline), which weakens the photoresist’s adhesion to the surface (metal) and allows it to be stripped away.
Inspection and packaging are two critical steps:
Individual etched pieces are examined for flaws, and sample portions are measured to ensure that they conform to the customer’s dimensional specifications before being shipped to the customer. The items are wrapped in suitable packaging material to ensure that they do not get damaged throughout the shipping process to the customer.