How to Tie a Chatterbait?
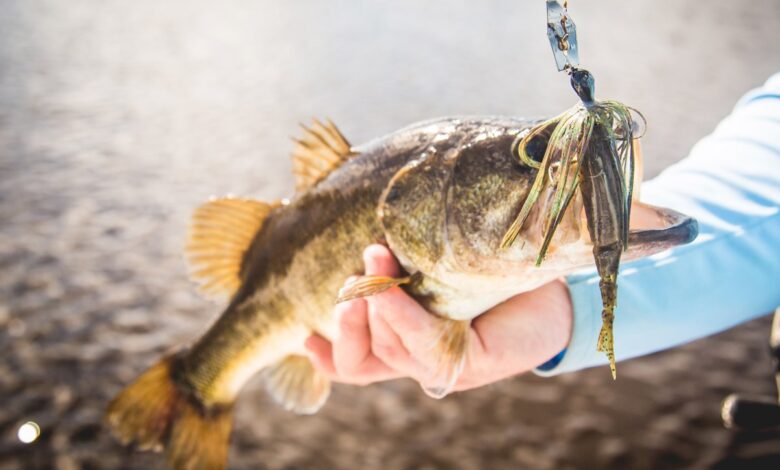
A lure correctly tied to the fishing line is your first step towards a great catch. The alignment of the sinker and the skirt to the fishing line is critical. Otherwise, the lure might snap after the fish has swallowed the bait. Or, in a worst-case scenario, it could miss the Chatterbait altogether.
After buying a Chatterbait, I normally study it first to understand exactly how it works. This information gives the best basis on which you can correctly tie one to the line.
If you are a beginner fisher and have been having trouble tying your Chatterbait to the fishing line, well worry no more. I think I can be of great help with that. Being able to know how to tie a Chatterbait is a skill that has helped me time and time, and it could help you too.
The Things You Need
A Chatterbait
Fishing line
Fishing rod/reel
Pliers
Steps on How to Tie a Chatterbait
In this segment, I am going to take you through the steps on how best to tie a Chatterbait to your fishing line. Any line always does it for me; it does not matter whether it is a monofilament, a braided or a fluorocarbon fishing line.
- Identify Where the Fishing Line Goes
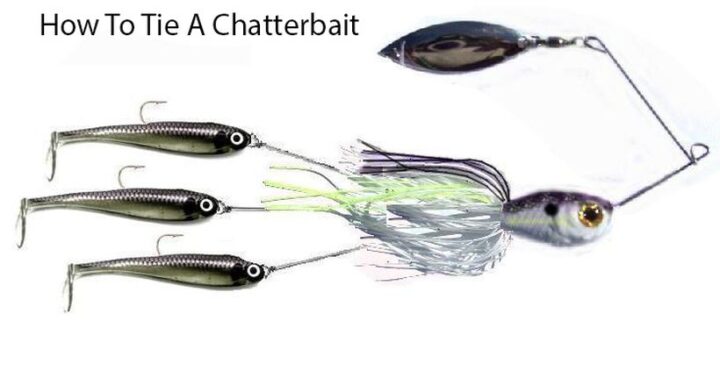
A Chatterbait has three basic parts. There is a blade at the top with a hexagonal shape, then the hook, and finally the body used to hide the potent hook. The body of the bait comprises of several wires which produce the unique chattering property when casting in water.
If you look carefully at the blade, you will notice a wire with a circular loop on it. This is where the line is tied to the bait. There is a day I found one of my novice angler friends tying the line to the blade itself. Do not mistake the two. The line goes through the loop.
- Insert the Line Through the Hole on the Wire to Create a Loop
Once the line has been threaded through the guides on the fishing rod, pull out enough line depending on extent you want the lure to be when you are done. There are various techniques you can use when tying the line to the looped wire.
In my case, I usually go for the Palomar knot, which I would regard as one of the strongest fishing knots out there. To tie this knot, thread the line through the eye of the hole on the blade. Thread back this end through the eye to form a loop.
- Complete the Palomar Knot
To complete the knot, hold the looped end of the line and use it to form another underhand knot. Pass the free loop from where it starts through itself. Gently pull on the line ensuring that you leave enough size of the loop to pass the Chatterbait through.
While holding the underhand knot with your pointer and index fingers, flip the Chatterbait through the formed loop. Pull back all the lines without anything being caught up on the Chatterbait itself.
Another thing, as I normally pull the lines, I always lubricate the knot area with water or sometimes saliva. When the knot is tight enough, clip any tagline remaining using the pliers.
Putting the process into words is a little hard to follow, so I have provided a video on how you can go through this process. There is another type of knot that you could try out in case the Palomar one proves too complex.
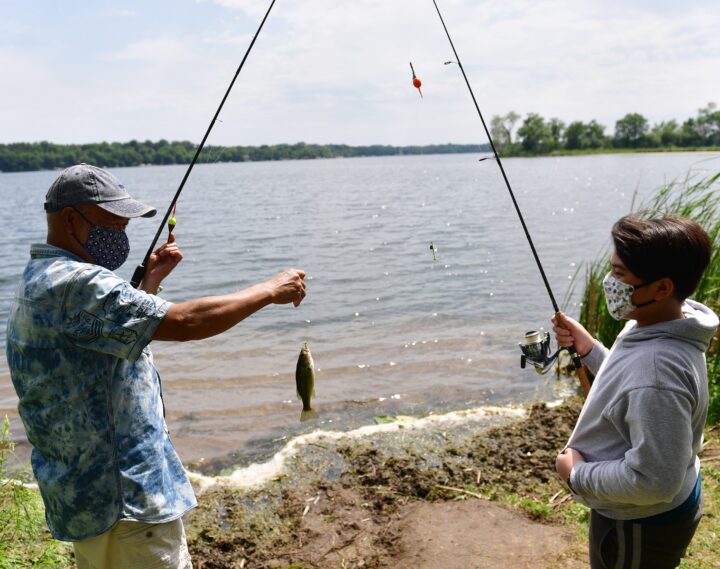
- Extend Enough Line to Meet Your Fishing Needs
You can customize the length of line that you would need for your fishing needs at this stage. For open waters, I normally secure about 4-5 feet of line before I can start reeling from the rod. But if I am going to shallow waters, then 1-2 feet of line works just great.
In case you find these lengths to be too short or long, then use the cranking handle to adjust the lengths accordingly. Most importantly, you need to be able to retrieve and cast the Chatterbait with ease in any type of fishing zone.
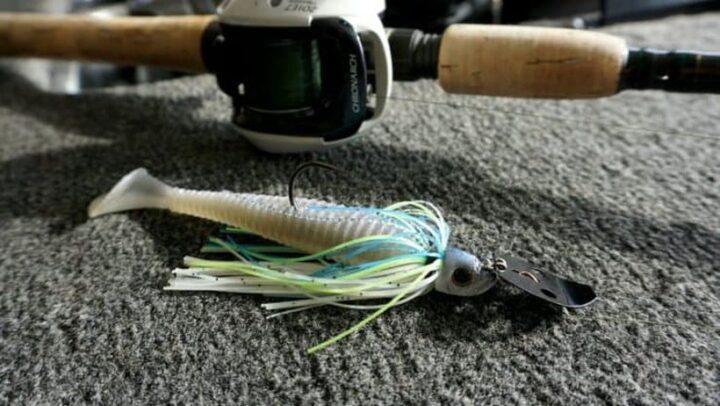
- Take the Chatterbait For a Test
At this stage, you should be done with the whole process. To determine whether you have done a good job or not, you need to take the newly tied Chatterbait for a spin. It does not have to be an actual fishing escapade (although an actual fishing exercise would be the best test).
Check to see how the bait moves in the water, how it retrieves and if it evades debris and other vegetation. Note if the knot you made loosens or stays on during the whole process. If you are lucky to catch an actual fish without any fuss, then you did a good job.
Essential Tips to Remember
- When tying the line, stay clear of the hook. This part of the Chatterbait is sharp and pointed. It, therefore, presents a serious injury hazard. It has bruised my palms a couple of times, so you need to be wary and stay clear of it.
- When you are done, check the sharpness of the hook again. The movements involved when tying the line might make it blunt. And a blunt hook will not do its job efficiently as it should. Try sticking it on your nail. If it slides, then its blunt, but if sticks, then it is still sharp.
- There is a debate about whether to color the blade or not after you are done tying the line. Most people prefer to color the blade to match the type of food the fish eats or the environment you are fishing in. I’ll leave this decision to you since it works both ways, provided the vibrations and trailer are attractive enough.

Conclusion
Knowing how to tie a Chatterbait on your own is the first step towards being a seasoned angler. The good thing is that once you get it right, it sticks with you forever. You will even be able to tweak a few steps along the way. It’s an easy process and takes just a few minutes and you’re done.