Here’s How You Can Efficiently Mount Floating Shelves on Plaster Wall
Nowadays, we have a lot more things than in the past. This means that we have less and less space. How can this be resolved? With an idea for floating shelves, of course! They are very easy to install, and they give you the advantage to save some space and put your objects on display at the same time. The floating shelves aren’t just practical for big apartments but also for small spaces because it’s so easy to store them away when you don’t want them. They come in all styles and sizes, making them perfect for any room you would like to hang them up in. To prevent scratches, always place heavy items on lower shelves so that the upper ones remain safe as well as beautiful. If you have a plaster wall and are thinking about how to effectively mount shelves on a plaster wall! Here is the definitive guide, helping you to hang your next shelf on a plaster wall.
Steps to mount shelves on plaster walls
Floating shelves are the best way to create a library atmosphere in your room. Click here to get some robust shelves for your place that can help in increasing storage for small spaces like the kitchen and bathrooms. The best feature of these shelves is that they allow you to install them at any height you want with ease – even without expensive remodelling efforts. Here are the steps to hang up such a shelving system on your own, even if you have never done anything similar before.
1. Gather all the material needed for installation
The first task, as usual, was to collect materials and tools for this job: get a 1m long level, steel wall screws, stud finder, electric drill, pencil, tape measure, brackets and of course, a shelf.
2. Choose the style
You should know about the size and weight of the material you will put after the installation; a typical floating shelf requires two brackets and two wall studs. Always remember, the wider span of the shelf means less weight it will hold.
3. Locate wall studs on your plaster wall
With the help of a stud finder, figure out where wood studs are hidden behind your plaster wall. When you intend to place heavy objects, know that they will require the support of a wall stud. When you find them, mark the location with the help of a pencil.
4. Locate and mark the shelf
When you finally locate the wall studs, set the spots for the shelf on the wall. Grab the level and mark the location. This is one of the instrumental steps in installation; therefore, you may need a helping hand for this.
5. Mark the mounting brackets

in the next step, you will mark the mounting brackets located on the back of the shelf. Mark it to the top of the shelf to the top of the bracket slot. Repeat the same for every mounting bracket slot.
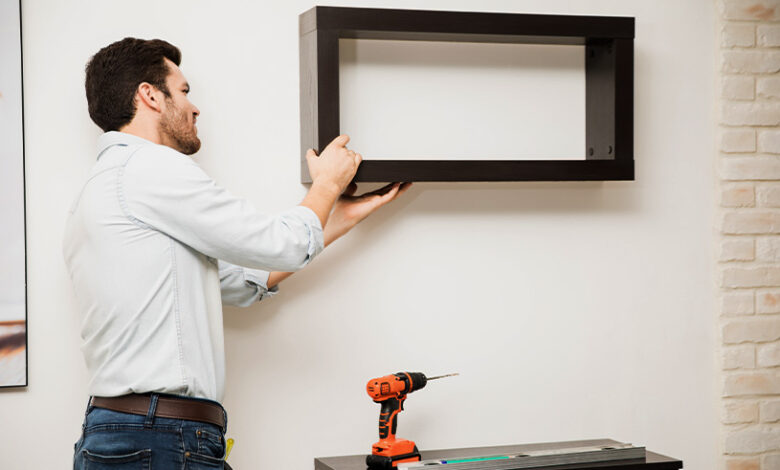
6. Grab the drill
It is advisable to pre-drill small anchor holes in wall studs. Align pre-drilled holes with brackets and push them into their correct place. Screw the brackets, but never do this with excessive tightening. If your brackets have screw slot fixing, always ensure they are screwed into the right place with a 6mm away from the wall to enable space for the screw head.
7. Level it out
Get the level and ensure that brackets are in the centre position to mount the shelf correctly. Be sure that the level is flat and stable.
8. Boom! It’s done
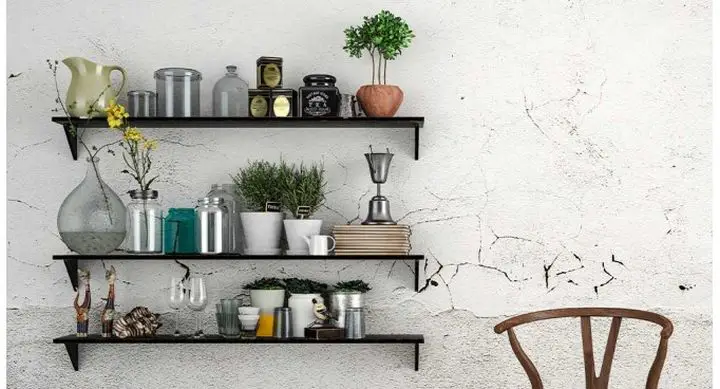
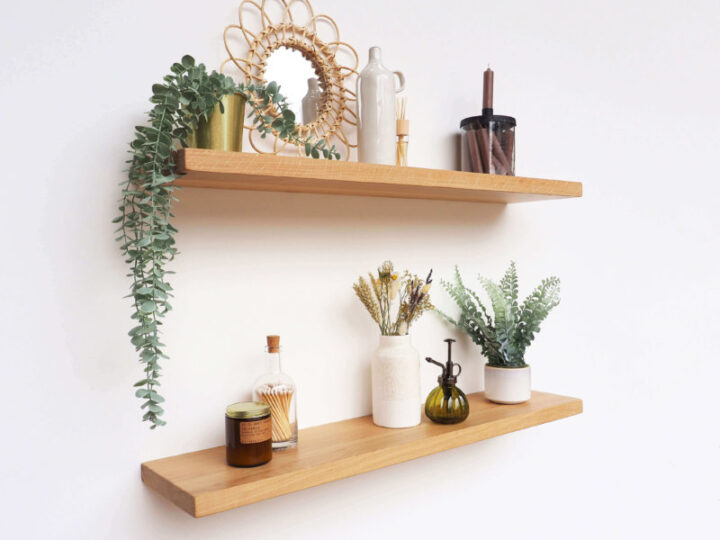
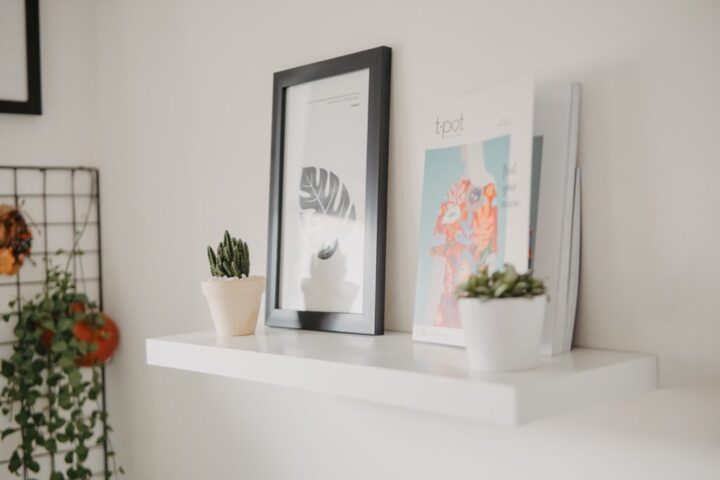
Take the shelf and simply place it onto the brackets. The installation is the same for almost every shelf. You can repeat the process to install as many shelves as you can. Now the shelf is ready to be decorated. You can use anything to store, from books to pots, to style up your living space. You can also use it for the kitchen, washroom or anywhere at your home to redecorate the place with your favourite items.
General Tip: You’ll need to determine what kind of wall your shelves will be installed on and if it’s a load-bearing wall. Consult with an expert before you begin construction if your shelving has to be placed over a doorway or located directly against another shelf. Ensure the weight of the items you plan to store is less than half the maximum load capacity of the shelf unit itself, which should be indicated in the instruction manual that came with it.
Tips to Hang floating shelves so you can minimize sagginess
First, measure the area where you will hang the shelf and cut your lumber to size accordingly. Remember when measuring that it is best to leave at least 3/4 inch between each piece of wood on each side for stability purposes. The width of each board should not exceed 12 inches because anything over this may interfere with certain cabinets or walls behind them . They should also not be more than 16 inches apart vertically if used as built-in shelves for aesthetics or so they can bear weight easily. Make sure that the pieces are sanded down before putting them together. If you have never done anything like this before, ask someone who has experience at construction for help! This is not something an average DIYer should try alone – especially if using power tools such as a drill.
Verdict
Floating shelves are a great way to add an artistic touch to any space. This blog post will discuss different uses for floating shelves and how they can make your space look more attractive! Floating shelves are one of the most versatile pieces of furniture in your home. They can be used for storage, as a place to put decorative items or even as a temporary surface when you need them. They work well in any space and can help you get organized without taking up too much valuable floor space!