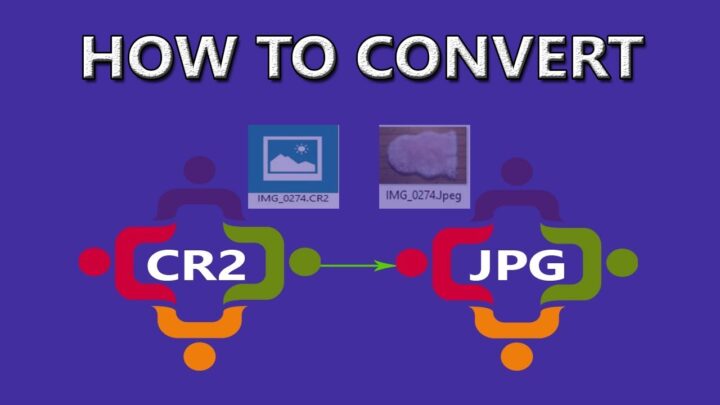
How to Convert CR2 Files without Losing Quality – 2024 guide
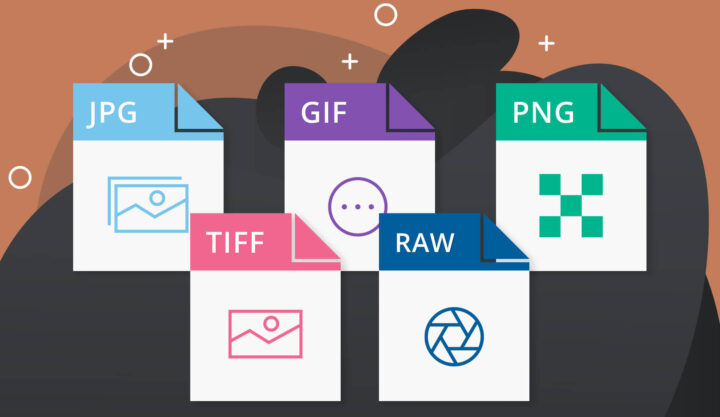
There are many multimedia photo formats, but people are mostly used to JPG and PNG extensions, although BMP format has often been used in the past. However, as photography and graphic design progressed, it was often necessary to use other formats that retained the raw image quality so that they could be used in their entirety or cut into parts.
Sometimes your computer may not support certain formats by default, and you may need to download the appropriate software to do so.
Do you wonder what are other formats you don’t know about, and why they are used?
Today we will introduce you to the CR2 and CR3 formats, which are most common among users taking photos with Canon models.
What is a CR2 file and how it’s used?
It’s a raw digital photo taken with a Canon camera. The format was developed exactly by them, and it keeps all the details on the photography, so it won’t lose quality while converting it to jpg.
Even though jpg is one of the most common file formats, it records only 8 bits of RGB, while CR2 records 14 bits of it. So, the CR2 file keeps the original form of the photo. Many people need a detailed version of the image, so they can print in larger sizes, or simply use it on designs that require better quality details.
But, sometimes, they only need to transfer the photo to their computers, so they can store it on some memory device or on their cloud, or even use it on their social media portfolio. In that case, the JPG format is simple enough.
We all know that we don’t want larger photos to use the memory resources on our website or cloud, so converting the file to JPG for that purpose is highly demanded.
In most cases, Windows 8 and Windows 10 can open that file, but if it doesn’t, you need to install the proper software to do that or find an online service to convert it.
The real challenge is to keep as best as the possible quality of the image, and we all know the online converters can’t really do that.
Instead, install a proper software, and you have two ways to do the opening and converting:
- Left click on the file
- Choose the option “Open with”
- Find the appropriate app
- Open the file
- Edit it, convert it, and save it on your computer
The other way is similar too:
- Launch the app
- Choose the file through the “Open” menu
- Select it
- Convert it
- Save it on your device in a wished format
It’s that simple and it won’t take you a lot of time to do that. If the file is too big, you may need to wait a few minutes until it’s converted.
What is a CR3 file, and how it’s used?
The CR3 files are also a product of Canon digital cameras, and it’s again a raw version that can be compressed or uncompressed. It’s been a popular format since 2018, and it was meant to replace the CR2 files. Both of them are still in use since there are photographers with older camera models, who are doing their job excellently.
Knowing that CR3 files can be RAW or C-RAW, that means you have the whole picture and a compressed one which can be up to 40% smaller, with tiny quality differences.
But, we still need the JPG format, especially when we publish the photos on a website or the photographer is creating an online portfolio with their work.
The procedure is almost the same as for CR2 files. You need to install software like reaConverter or so, and use it this way:
- Launch the converter
- From the menu, choose the opening section
- Select the needed files
- Edit and convert them
- Save them on your device
You can even use the drag-and-drop option. Also, you may set up the app as a default for this type of file.
The challenges you may have
In general, almost all the software of this type will work nicely and properly. Sometimes, they may come with a limited trial, so you will have to purchase it, to use it for a lifetime. But, there are so many of them that are free, user-friendly, and easy to navigate through them.
Mostly, the app will offer a few resolution options, so you can minimize the quality loss of the picture after the conversion. Be careful with that, because many applications may not have an option for that, or they have a limited choice of smaller resolutions. The goal is not to lose a lot of quality.
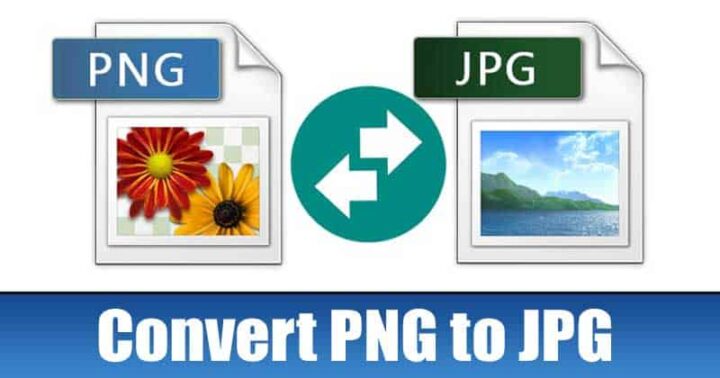
But, you will lose some of it anyway. Probably you’ve seen that if you convert from PNG to JPG and vice versa. It’s the same about CR2, CR3, or even TIF, HEIF, or GIF. It all depends on what’s the purpose and why do you need the photo.
As we said, for website publishing, or social media, PNG, and JPG are just enough. The resources are usually limited, and uploading a photo that will only use them for nothing is not a good idea.
For example, if the original file is about 4MB, and the JPG one is about 500KB, then it’s pretty obvious what do you need to do in this case. You are taking space for up to eight files by uploading the raw file, and you don’t want to do that.
Conclusion
Today we are really lucky to have all these options, and save our files in all the formats we need for further use. This process was pretty challenging in the past because almost all the solutions were messing up with the quality of the photo.
Now you understand the different and popular photo file formats, and how and why they are used. We hope that our article was useful for you, and you learned important things from it.